Are you struggling to monitor your Raspberry Pi when it’s behind a firewall on a Mac? You're not alone. Many users face challenges when trying to access and monitor their Raspberry Pi devices remotely, especially when firewalls and network restrictions come into play. Monitoring a Raspberry Pi behind a firewall is crucial for maintaining system health, troubleshooting issues, and ensuring seamless operations. In this article, we’ll explore step-by-step methods to monitor your Raspberry Pi effectively, even when it’s protected by a firewall, while using a Mac as your primary device.
Monitoring a Raspberry Pi remotely is not only a technical necessity but also a practical solution for managing IoT projects, home automation systems, or server setups. However, firewalls often block direct access, making it difficult to establish a connection. Don’t worry—this guide will walk you through various techniques, tools, and best practices to overcome these obstacles. By the end of this article, you’ll have a clear understanding of how to monitor your Raspberry Pi securely and efficiently.
Whether you’re a beginner or an experienced user, this guide is designed to provide actionable insights and reliable solutions. We’ll cover everything from setting up SSH tunnels to configuring port forwarding and using secure remote access tools. With this knowledge, you’ll be able to monitor your Raspberry Pi with confidence, ensuring your projects run smoothly without compromising security. Let’s dive into the details and unlock the potential of your Raspberry Pi setup.
Read also:Best Hdhub4u Movies Download Full Hd Films Collection
Table of Contents
- Introduction to Raspberry Pi Monitoring
- Understanding Firewalls and Their Impact
- Setting Up SSH for Remote Access
- Configuring Port Forwarding
- Using Secure Shell Tunneling
- Tools for Monitoring Raspberry Pi
- Biography of Raspberry Pi
- Biodata of Raspberry Pi Founders
- Common Challenges and Solutions
- Conclusion and Next Steps
Introduction to Raspberry Pi Monitoring
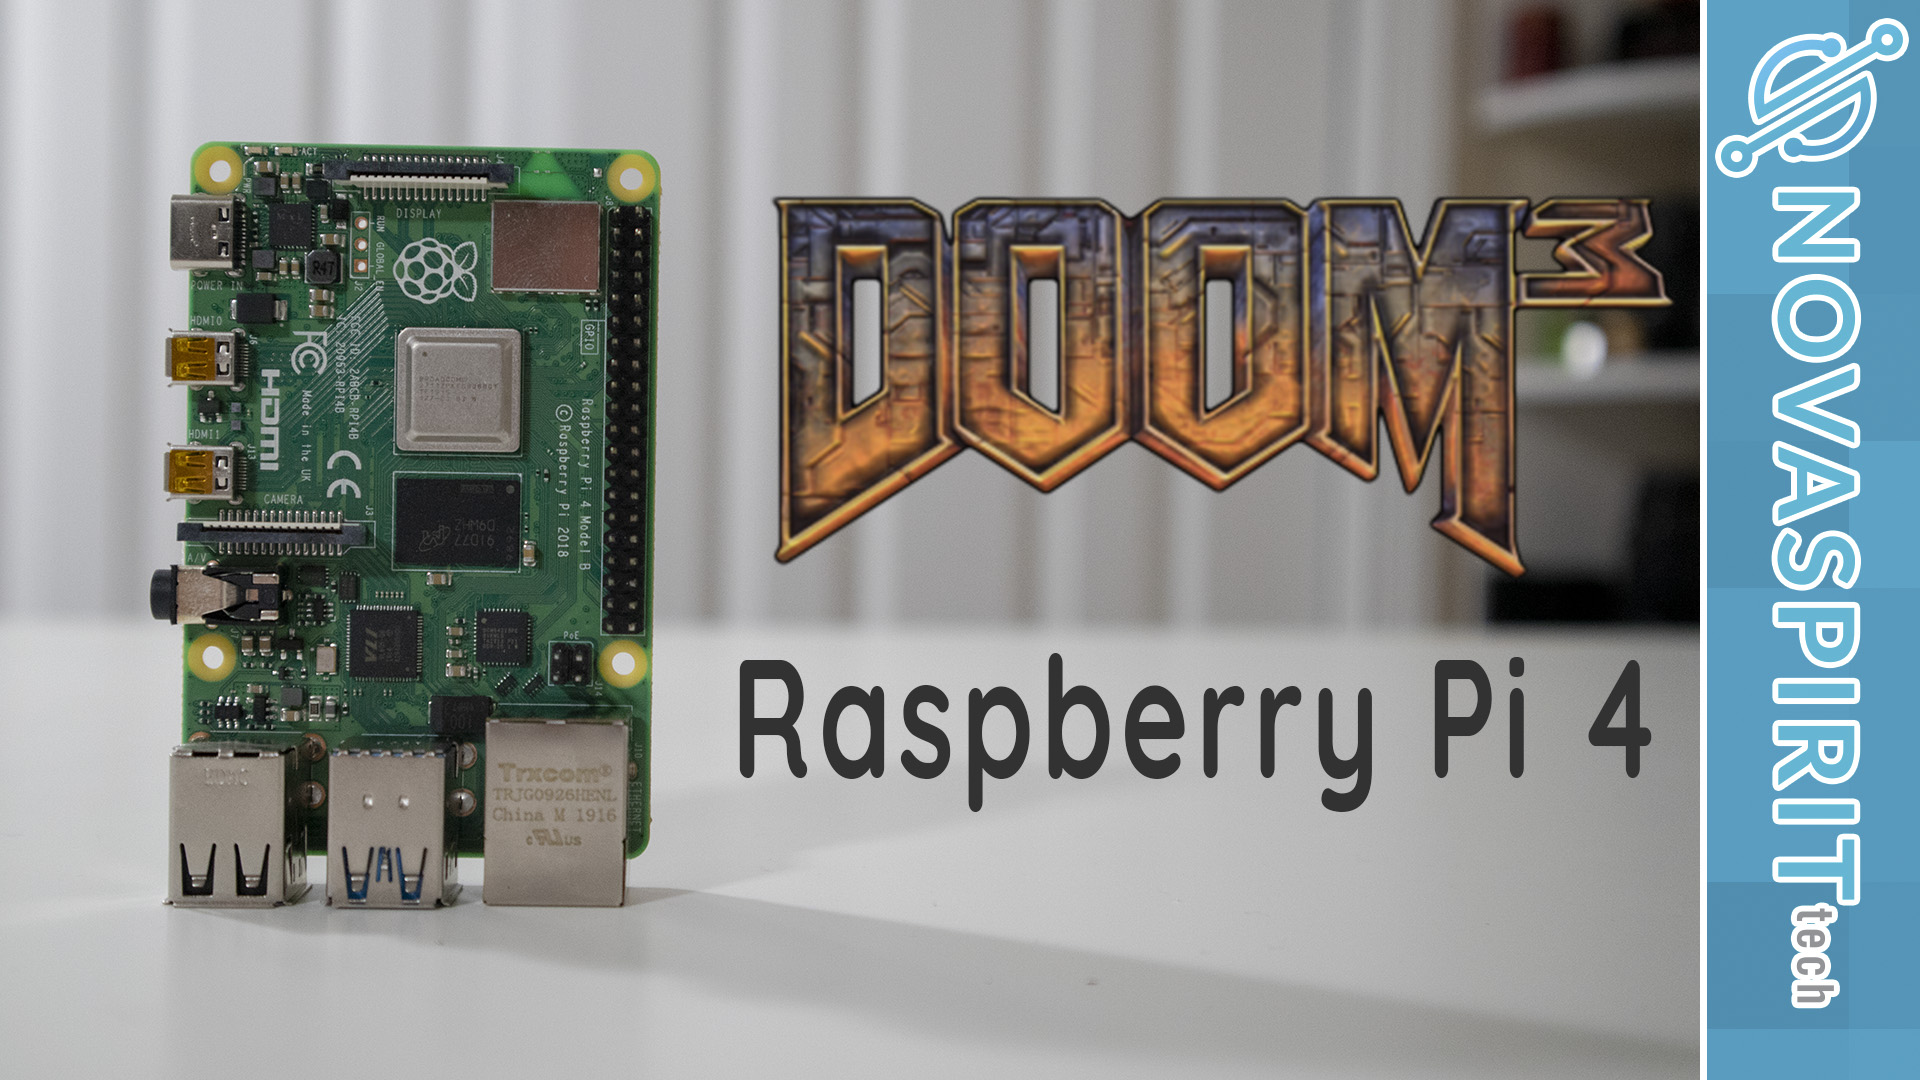
Raspberry Pi is a versatile single-board computer that has gained immense popularity among hobbyists, developers, and professionals alike. Its compact size, affordability, and flexibility make it an ideal choice for a wide range of applications, from home automation to industrial IoT solutions. Monitoring your Raspberry Pi ensures that it operates efficiently, detects potential issues early, and provides insights into system performance.
Monitoring a Raspberry Pi involves tracking various metrics such as CPU usage, memory consumption, network activity, and disk health. These metrics help you identify bottlenecks, optimize performance, and troubleshoot problems. Tools like htop, glances, and Prometheus can be used for real-time monitoring, while logging systems like syslog and ELK Stack provide detailed historical data.
Why Monitoring Behind a Firewall is Challenging
Firewalls are designed to protect networks by filtering incoming and outgoing traffic. While this enhances security, it can also block legitimate connections required for monitoring a Raspberry Pi. Common challenges include:
- Blocked ports preventing SSH or web-based access.
- Restricted access to internal networks from external devices.
- Difficulty in establishing secure connections due to firewall rules.
Fortunately, with the right techniques, you can bypass these challenges and monitor your Raspberry Pi effectively, even behind a firewall.
Understanding Firewalls and Their Impact
A firewall acts as a barrier between your Raspberry Pi and the external network, controlling access based on predefined rules. It plays a critical role in safeguarding your device from unauthorized access and cyber threats. However, firewalls can also hinder legitimate monitoring activities if not configured properly.
There are two primary types of firewalls you may encounter when monitoring a Raspberry Pi:
Read also:Stana Katic A Comprehensive Guide To The Versatile Actress And Her Career
- Hardware Firewalls: These are physical devices that protect an entire network. They are commonly used in corporate environments and home routers.
- Software Firewalls: These are installed on individual devices, such as your Raspberry Pi or Mac, to control traffic at the application level.
Impact on Raspberry Pi Monitoring
Firewalls can block essential ports required for monitoring, such as port 22 for SSH or port 80 for HTTP. This can prevent you from accessing your Raspberry Pi remotely or using monitoring tools that rely on these ports. Understanding how firewalls work and their impact on your setup is the first step toward overcoming these challenges.
Setting Up SSH for Remote Access
SSH (Secure Shell) is a protocol that allows secure remote access to your Raspberry Pi. It is one of the most reliable methods for monitoring and managing your device, even behind a firewall. Here’s how you can set up SSH on your Raspberry Pi and Mac:
Enabling SSH on Raspberry Pi
To enable SSH on your Raspberry Pi, follow these steps:
- Connect your Raspberry Pi to a monitor and keyboard.
- Open the terminal and run the command:
sudo raspi-config. - Navigate to Interfacing Options and select SSH.
- Choose Yes to enable SSH and reboot your device.
Connecting via SSH from a Mac
Once SSH is enabled, you can connect to your Raspberry Pi from your Mac using the Terminal app:
- Open Terminal on your Mac.
- Enter the command:
ssh pi@raspberrypi.local(replaceraspberrypi.localwith your Pi’s IP address if needed). - Enter the default password (
raspberry) or your custom password.
Securing Your SSH Connection
To enhance security, consider the following best practices:
- Change the default SSH port (22) to a custom port.
- Disable password authentication and use SSH keys instead.
- Restrict SSH access to specific IP addresses using firewall rules.
Configuring Port Forwarding
Port forwarding is a technique that allows external devices to access services running on your Raspberry Pi by redirecting traffic through your router. This is particularly useful when your Pi is behind a firewall.
Steps to Configure Port Forwarding
To set up port forwarding on your router:
- Access your router’s admin panel by entering its IP address in a web browser.
- Navigate to the Port Forwarding section (this may vary depending on your router model).
- Create a new rule to forward traffic from an external port (e.g., 2222) to your Raspberry Pi’s internal IP address and SSH port (22).
- Save the changes and restart your router if necessary.
Testing the Connection
After configuring port forwarding, test the connection by accessing your Raspberry Pi from an external network:
- Use your public IP address and the forwarded port to connect via SSH:
ssh pi@.-p 2222 - Verify that the connection is successful and secure.
Using Secure Shell Tunneling
SSH tunneling is a powerful technique that allows you to securely access your Raspberry Pi by creating an encrypted connection through an intermediate server. This method is particularly useful when direct access is blocked by a firewall.
Creating an SSH Tunnel
To create an SSH tunnel, follow these steps:
- Open Terminal on your Mac.
- Run the command:
ssh -L 8080:localhost:80 pi@raspberrypi.local. - This command forwards traffic from port 8080 on your Mac to port 80 on your Raspberry Pi.
Accessing Web Interfaces
Once the tunnel is established, you can access web-based monitoring tools on your Raspberry Pi by navigating to http://localhost:8080 in your web browser. This approach ensures that your connection remains secure and bypasses firewall restrictions.
Tools for Monitoring Raspberry Pi
Several tools can help you monitor your Raspberry Pi effectively, providing insights into system performance and health. Here are some popular options:
1. htop
htop is an interactive system monitor that displays real-time information about CPU, memory, and process usage. Install it using the command: sudo apt install htop.
2. glances
glances is a cross-platform monitoring tool that provides a comprehensive overview of system metrics. Install it with: sudo apt install glances.
3. Prometheus
Prometheus is a powerful monitoring and alerting toolkit designed for large-scale systems. It requires additional setup but offers advanced features for data collection and visualization.
Biography of Raspberry Pi
The Raspberry Pi was first introduced in 2012 by the Raspberry Pi Foundation, a UK-based charity aimed at promoting computer science education. It quickly gained popularity due to its affordability and versatility, becoming a staple in educational institutions and DIY projects worldwide.
Biodata of Raspberry Pi Founders
| Name | Role | Contribution |
|---|---|---|
| Eben Upton | Co-founder and CEO | Developed the concept of Raspberry Pi to address the decline in computer science skills among students. |
| David Braben | Co-founder | Provided financial support and helped shape the vision of the Raspberry Pi Foundation. |
Common Challenges and Solutions
Monitoring a Raspberry Pi behind a firewall can present several challenges, but each has a solution:
- Blocked Ports: Use SSH tunneling or configure port forwarding to bypass restrictions.
- Network Restrictions: Leverage a VPN to create a secure connection between your Mac and Raspberry Pi.
- Security Concerns: Implement SSH keys and disable password authentication to enhance security.
Conclusion and Next Steps
Monitoring a Raspberry Pi behind a firewall on a Mac may seem daunting at first, but with the right tools and techniques, it’s entirely achievable. By enabling SSH, configuring port forwarding, and using secure tunneling methods, you can overcome firewall restrictions and ensure seamless access to your device. Additionally, leveraging monitoring tools like htop, glances, and Prometheus will provide valuable insights into your Raspberry Pi’s performance.
Take the next step by implementing these strategies in your setup. Experiment with different tools and configurations to find the best solution for your needs. If you found this guide helpful, consider sharing it with others or leaving a comment below to share your experiences. For more articles on Raspberry Pi and related topics, explore our website and stay tuned for future updates!