Are you looking for a reliable way to manage your Raspberry Pi remotely? The RemoteIoT platform offers a seamless solution for downloading and using SSH on your Raspberry Pi, even without prior technical expertise. With the growing demand for remote device management, tools like RemoteIoT have become indispensable for developers, IT professionals, and hobbyists alike. This article will guide you through the process of downloading and using SSH on your Raspberry Pi via the RemoteIoT platform, ensuring you can securely and efficiently manage your device from anywhere in the world.
Remote device management is crucial in today’s interconnected world, especially for Raspberry Pi users who need to access their devices remotely. Whether you’re managing IoT projects, running servers, or experimenting with home automation, SSH (Secure Shell) is a vital tool for secure communication. However, setting up SSH on a Raspberry Pi can sometimes be challenging, especially for beginners. This is where the RemoteIoT platform comes into play, simplifying the process and making it accessible even for those without extensive technical knowledge.
In this comprehensive guide, we’ll explore the RemoteIoT platform’s features, walk you through the steps to download and enable SSH on your Raspberry Pi, and provide tips for optimizing your remote management experience. By the end of this article, you’ll have a clear understanding of how to leverage the RemoteIoT platform to enhance your Raspberry Pi projects while maintaining security and efficiency.
Read also:Pictures Of Steve Perrys Daughter A Glimpse Into The Life Of The Journey Legends Family
Table of Contents
- Introduction to RemoteIoT Platform
- What is SSH and Why is it Important?
- Step-by-Step Guide to Enable SSH on Raspberry Pi
- How to Download SSH Using RemoteIoT Platform
- Configuring SSH for Optimal Performance
- Common Issues and Troubleshooting Tips
- Best Practices for Secure SSH Usage
- RemoteIoT Platform Features and Benefits
- Real-World Applications of RemoteIoT and SSH
- Conclusion and Next Steps
Introduction to RemoteIoT Platform
The RemoteIoT platform is a cutting-edge solution designed to simplify remote device management for IoT projects, Raspberry Pi users, and other embedded systems. This platform offers a user-friendly interface and robust features that allow users to monitor, control, and manage their devices from anywhere in the world. Whether you’re a developer working on IoT applications or a hobbyist experimenting with Raspberry Pi, RemoteIoT provides the tools you need to streamline your workflow.
One of the standout features of the RemoteIoT platform is its seamless integration with SSH (Secure Shell). SSH is a protocol that enables secure communication between devices, making it an essential tool for remote management. With RemoteIoT, users can easily download and enable SSH on their Raspberry Pi without needing to navigate complex configurations or technical jargon.
RemoteIoT also emphasizes security and reliability, ensuring that your devices remain protected while being remotely accessible. The platform supports various operating systems and devices, making it a versatile choice for users with diverse needs. By leveraging RemoteIoT, you can focus on your projects without worrying about the complexities of remote device management.
What is SSH and Why is it Important?
SSH, or Secure Shell, is a cryptographic network protocol used for secure communication between devices over an unsecured network. It provides a secure channel for executing commands, transferring files, and managing systems remotely. For Raspberry Pi users, SSH is particularly important because it allows them to access their devices without needing physical proximity.
One of the primary benefits of SSH is its ability to encrypt data, ensuring that sensitive information remains protected during transmission. This is especially critical for IoT projects and applications involving personal or financial data. Without SSH, managing a Raspberry Pi remotely would expose users to potential security risks, such as unauthorized access or data breaches.
Additionally, SSH simplifies the process of remote management by enabling users to execute commands directly on their Raspberry Pi. Whether you’re troubleshooting issues, updating software, or configuring settings, SSH provides a convenient and secure way to interact with your device. This makes it an indispensable tool for anyone working with Raspberry Pi or similar devices.
Read also:Karoliacutena Muchovaacute Rising Star In Womens Tennis
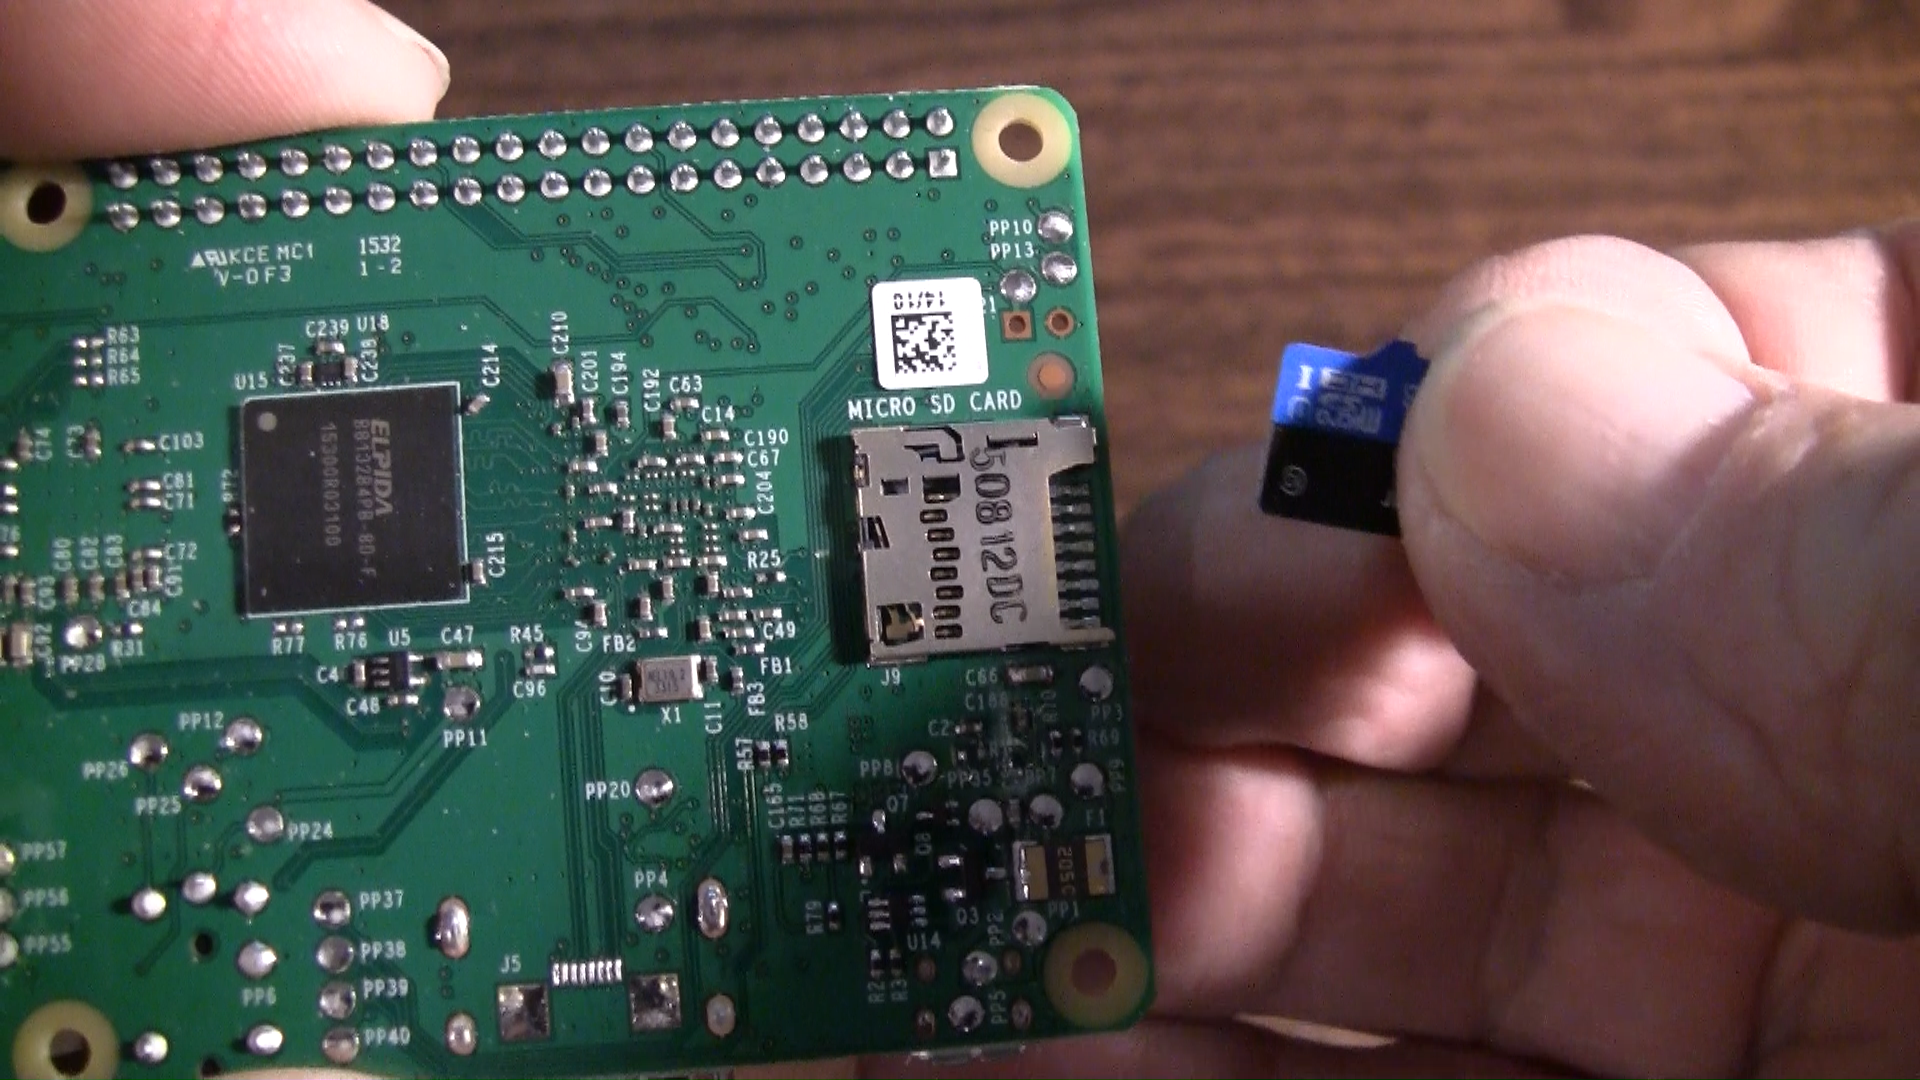
Step-by-Step Guide to Enable SSH on Raspberry Pi
Enabling SSH on your Raspberry Pi is a straightforward process, especially when using the RemoteIoT platform. Below is a step-by-step guide to help you get started:
Step 1: Prepare Your Raspberry Pi
- Ensure your Raspberry Pi is powered on and connected to the internet.
- Update your Raspberry Pi’s operating system to the latest version using the command:
sudo apt update && sudo apt upgrade.
Step 2: Enable SSH via Raspberry Pi Configuration
- Open the terminal on your Raspberry Pi.
- Run the command
sudo raspi-config. - Navigate to “Interfacing Options” and select “SSH.”
- Choose “Yes” to enable SSH and exit the configuration tool.
Step 3: Verify SSH Status
- Check if SSH is running by entering the command:
sudo systemctl status ssh. - If SSH is active, you should see a message indicating that the service is running.
Step 4: Access Your Raspberry Pi Remotely
- Use an SSH client like PuTTY (for Windows) or the terminal (for macOS/Linux).
- Enter your Raspberry Pi’s IP address and credentials to establish a secure connection.
By following these steps, you can enable SSH on your Raspberry Pi and begin managing it remotely with ease.
How to Download SSH Using RemoteIoT Platform
The RemoteIoT platform simplifies the process of downloading and configuring SSH on your Raspberry Pi. Here’s how you can use the platform to streamline the process:
Step 1: Create an Account on RemoteIoT
- Visit the RemoteIoT website and sign up for an account.
- Complete the registration process and log in to your dashboard.
Step 2: Add Your Raspberry Pi to the Platform
- Navigate to the “Devices” section in your RemoteIoT dashboard.
- Click on “Add Device” and follow the on-screen instructions to register your Raspberry Pi.
Step 3: Enable SSH Through the Platform
- Once your Raspberry Pi is registered, locate it in the device list.
- Click on the “Enable SSH” option to automatically configure SSH settings on your device.
Step 4: Download and Install Necessary Tools
- RemoteIoT provides downloadable tools and configurations to simplify SSH setup.
- Download the recommended SSH client or configuration files directly from the platform.
With RemoteIoT, you can bypass the manual configuration steps and quickly enable SSH on your Raspberry Pi with just a few clicks.
Configuring SSH for Optimal Performance
Once SSH is enabled on your Raspberry Pi, it’s important to configure it for optimal performance. Here are some tips to help you get the most out of your SSH setup:
- Change the Default Port: By default, SSH uses port 22. Changing this to a non-standard port can reduce the risk of unauthorized access.
- Disable Password Authentication: Use SSH keys instead of passwords for authentication to enhance security.
- Limit User Access: Restrict SSH access to specific users or IP addresses to minimize potential vulnerabilities.
- Enable Two-Factor Authentication (2FA): Adding an extra layer of security can further protect your Raspberry Pi from unauthorized access.
These configurations not only improve performance but also enhance the security of your SSH connection, ensuring a safer remote management experience.
Common Issues and Troubleshooting Tips
While setting up SSH on your Raspberry Pi, you may encounter some common issues. Here are a few troubleshooting tips to help you resolve them:
- Connection Refused: Ensure that SSH is enabled and the service is running on your Raspberry Pi.
- Incorrect Credentials: Double-check your username and password or SSH key configuration.
- Firewall Blocking: Verify that your firewall settings allow SSH traffic on the specified port.
- Slow Connection: Optimize your network settings and consider using a wired connection for better performance.
If you’re still experiencing issues, consult the RemoteIoT platform’s support resources or community forums for additional assistance.
Best Practices for Secure SSH Usage
Using SSH securely is essential to protect your Raspberry Pi and its data. Here are some best practices to follow:
- Regularly Update Your System: Keep your Raspberry Pi’s operating system and SSH software up to date to patch vulnerabilities.
- Monitor SSH Logs: Regularly review SSH logs to detect and respond to suspicious activity.
- Use Strong Passwords: If you must use passwords, ensure they are complex and unique.
- Limit Root Access: Avoid logging in as the root user to minimize potential risks.
By adhering to these best practices, you can maintain a secure and reliable SSH connection for your Raspberry Pi.
RemoteIoT Platform Features and Benefits
The RemoteIoT platform offers a wide range of features and benefits that make it an ideal choice for managing your Raspberry Pi remotely. Some of its key features include:
- Device Monitoring: Real-time monitoring of device status and performance metrics.
- Remote Access: Secure and seamless access to your devices from anywhere in the world.
- Automation Tools: Automate routine tasks and streamline workflows with built-in tools.
- Scalability: Support for multiple devices and users, making it suitable for both personal and enterprise use.
These features not only enhance productivity but also provide peace of mind by ensuring your devices remain secure and accessible.
Real-World Applications of RemoteIoT and SSH
The combination of RemoteIoT and SSH has numerous real-world applications, particularly in IoT projects and remote device management. For example:
- Home Automation: Manage smart home devices and automate tasks using a Raspberry Pi.
- Industrial IoT: Monitor and control industrial equipment remotely to improve efficiency.
- Remote Servers: Access and manage servers securely without needing physical access.
These applications demonstrate the versatility and importance of RemoteIoT and SSH in modern technology.
Conclusion and Next Steps
In conclusion, the RemoteIoT platform offers a powerful and user-friendly solution for downloading and using SSH on your Raspberry Pi. By following the steps outlined in this guide, you can enable SSH, configure it for optimal performance, and leverage its benefits for your projects. Whether you’re a developer, IT professional, or hobbyist, RemoteIoT simplifies remote device management while prioritizing security and reliability.
We encourage you to explore the RemoteIoT platform further and take advantage of its features to enhance your Raspberry Pi projects. If you have any questions or need assistance, feel free to leave a comment or reach out to the RemoteIoT support team. Share this article with others who may find it helpful, and don’t