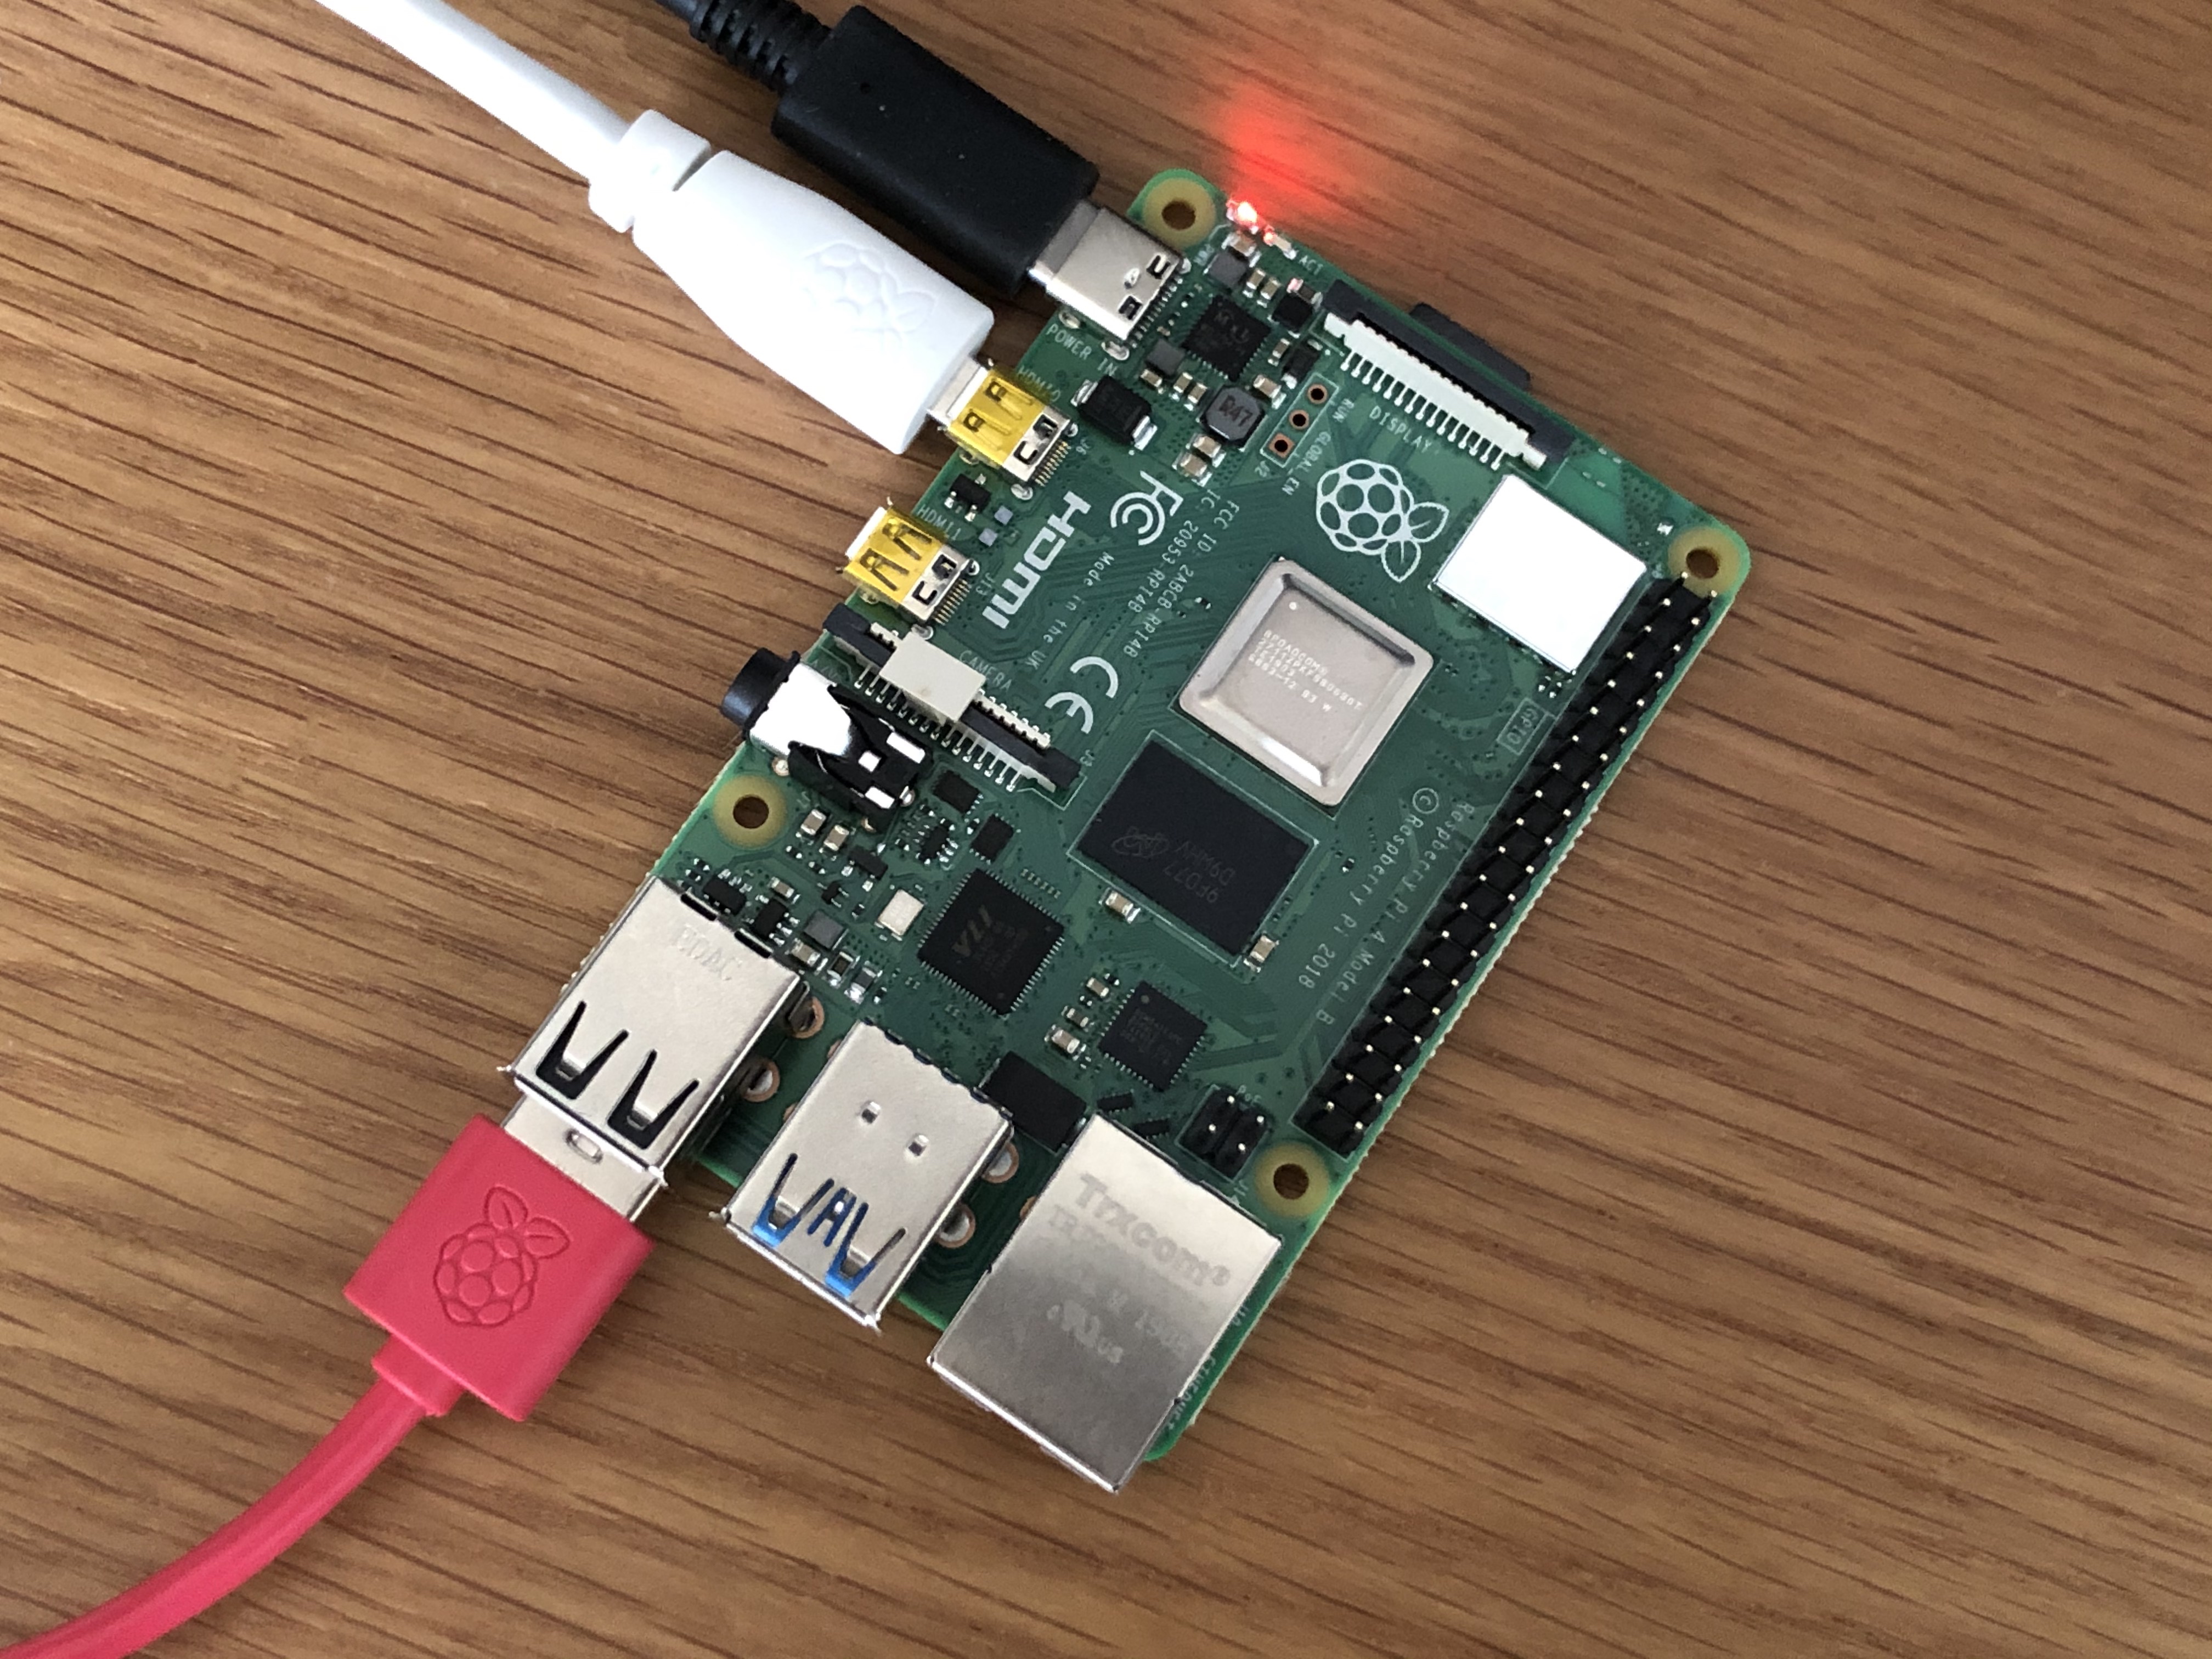
Are you looking to access your Raspberry Pi remotely from anywhere using a Windows PC? You're in the right place! Whether you're managing a home server, running IoT projects, or simply experimenting with Raspberry Pi, remote access is a game-changer. With the right setup, you can control your Raspberry Pi from any location, making it easier to manage tasks without being physically present. This guide will walk you through the step-by-step process of setting up remote access to your Raspberry Pi from a Windows device.
Remote access to your Raspberry Pi not only enhances convenience but also opens up a world of possibilities. From troubleshooting issues to deploying updates, having the ability to connect to your Pi remotely ensures you stay productive. In this article, we’ll explore various methods, tools, and best practices to help you achieve secure and reliable remote access.
By the end of this guide, you'll have a clear understanding of how to configure your Raspberry Pi for remote access and the tools you need to make it happen. We’ll also discuss important considerations like security and performance to ensure your setup is both safe and efficient. Let’s dive in!
Read also:Jim Gaffigan Wife And Kids A Closer Look At His Family Life
Table of Contents
Introduction to Remote Access
Remote access allows you to control a device, such as your Raspberry Pi, from another location. This is particularly useful for managing servers, IoT devices, or development environments. For Raspberry Pi users, remote access eliminates the need for a dedicated monitor, keyboard, and mouse, making it a cost-effective and flexible solution.
There are several ways to remotely access your Raspberry Pi, including SSH (Secure Shell), VNC (Virtual Network Computing), and web-based interfaces. Each method has its own advantages, depending on your specific needs. For example, SSH is ideal for command-line operations, while VNC provides a graphical user interface.
Why Use Remote Access?
- Convenience: Access your Raspberry Pi from anywhere without physical presence.
- Cost-Effective: Eliminate the need for additional hardware like monitors and keyboards.
- Flexibility: Perform tasks like file management, software updates, and troubleshooting remotely.
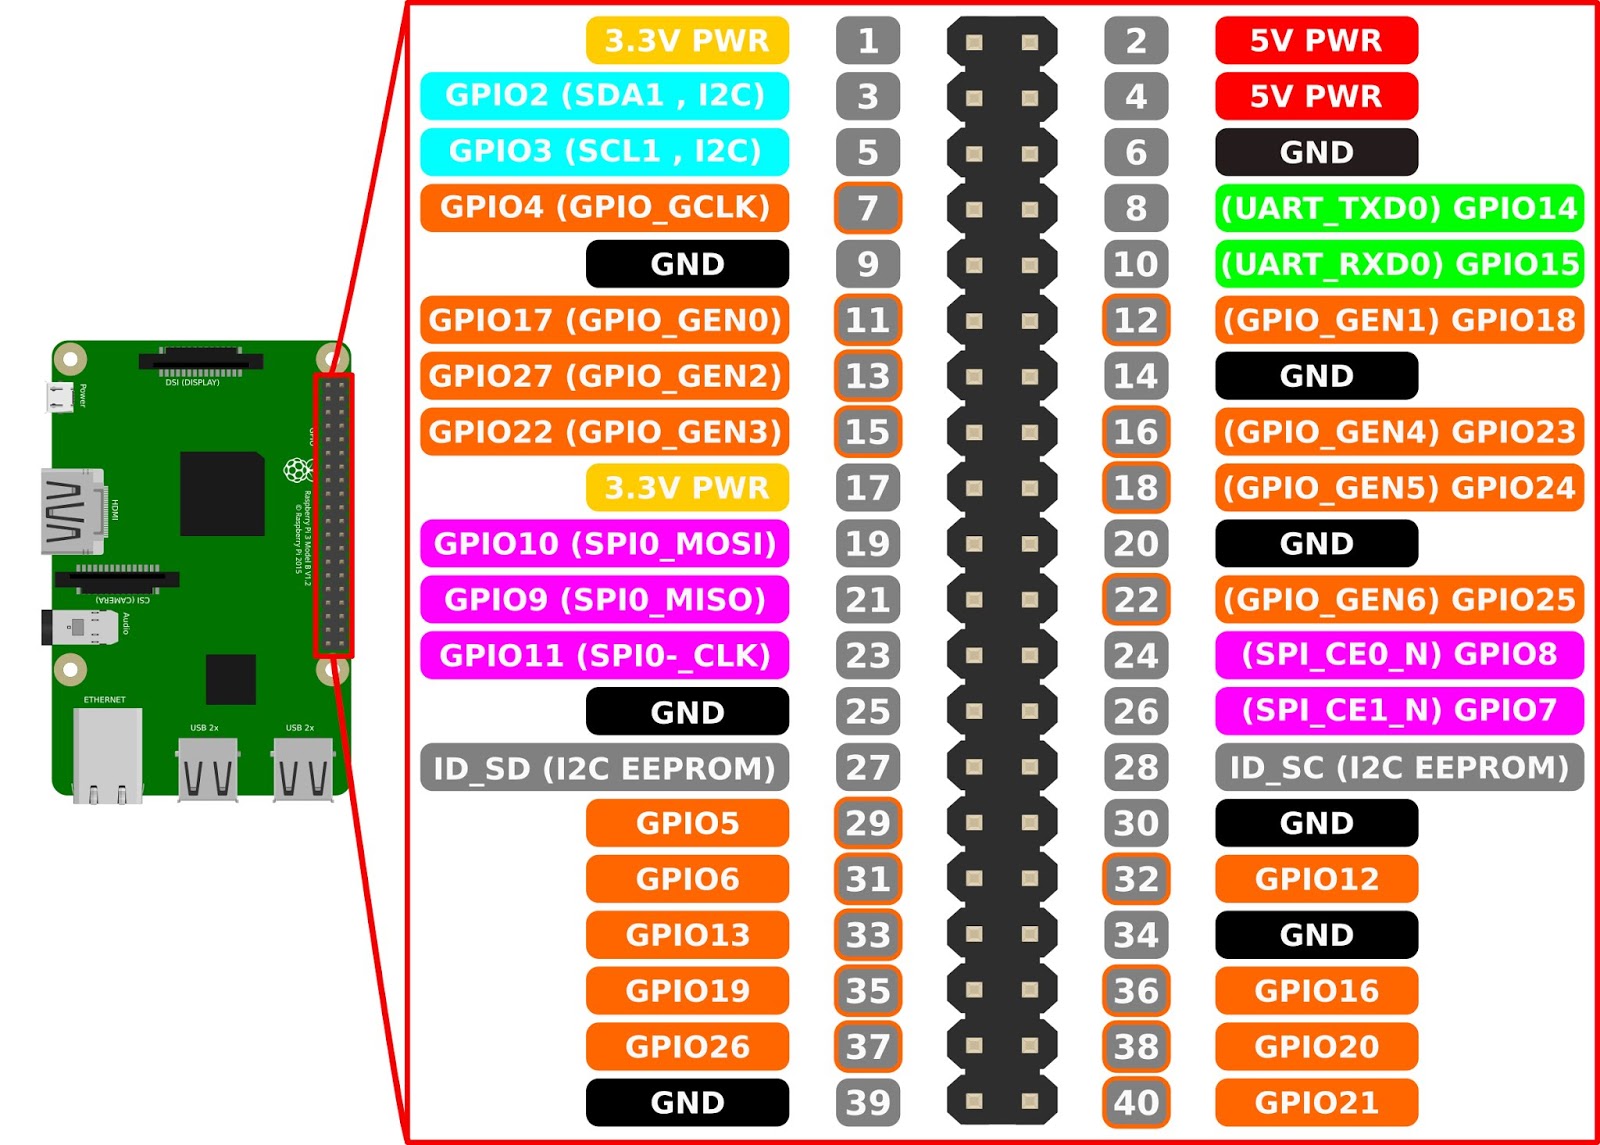
Preparing Your Raspberry Pi
Before you can access your Raspberry Pi remotely, it’s important to ensure that your device is properly configured. This includes updating the operating system, setting up a static IP address, and ensuring your Pi is connected to the internet.
Step 1: Update Your Raspberry Pi
To ensure your Raspberry Pi is running the latest software, open the terminal and run the following commands:
sudo apt update sudo apt upgradeThese commands will update your system packages and install any available upgrades.
Step 2: Assign a Static IP Address
A static IP address ensures that your Raspberry Pi’s network address doesn’t change, making it easier to connect remotely. You can configure a static IP by editing the dhcpcd.conf file:
Read also:Mydesi Net New Latest Updates News Everything You Need To Know
sudo nano /etc/dhcpcd.confAdd the following lines, replacing the values with your network settings:
interface eth0 static ip_address=192.168.1.100/24 static routers=192.168.1.1 static domain_name_servers=8.8.8.8Enabling SSH on Raspberry Pi
SSH is one of the most common methods for remote access. It allows you to connect to your Raspberry Pi via the command line. By default, SSH is disabled on Raspberry Pi OS, so you’ll need to enable it manually.
Step 1: Enable SSH via Raspberry Pi Configuration
Open the Raspberry Pi Configuration tool:
sudo raspi-configNavigate to Interfacing Options, select SSH, and choose Yes to enable it.
Step 2: Test SSH Locally
Before attempting remote access, test SSH on your local network. Use the following command from another device on the same network:
ssh pi@192.168.1.100Replace 192.168.1.100 with your Raspberry Pi’s IP address.
Setting Up Port Forwarding
To access your Raspberry Pi from outside your local network, you’ll need to configure port forwarding on your router. This allows external devices to connect to your Pi through a specific port.
Step 1: Access Your Router’s Admin Panel
Log in to your router’s admin panel by entering its IP address in a web browser. Common addresses include 192.168.1.1 or 192.168.0.1.
Step 2: Configure Port Forwarding Rules
Create a new port forwarding rule with the following settings:
- Service Name: SSH
- External Port: 22
- Internal IP Address: Raspberry Pi’s static IP
- Internal Port: 22
Using Dynamic DNS
Dynamic DNS (DDNS) allows you to access your Raspberry Pi using a domain name instead of an IP address. This is especially useful if your internet service provider assigns a dynamic IP address.
Step 1: Choose a DDNS Provider
Popular DDNS providers include No-IP, Dynu, and DuckDNS. Sign up for an account and create a hostname.
Step 2: Install DDNS Client on Raspberry Pi
Install a DDNS client to automatically update your IP address with the DDNS provider:
sudo apt install ddclientFollow the on-screen instructions to configure the client.
Connecting via SSH on Windows
Once your Raspberry Pi is set up, you can connect to it from a Windows PC using SSH.
Step 1: Use Windows Terminal or PuTTY
Windows Terminal and PuTTY are popular tools for SSH connections. Open the terminal and run:
ssh pi@your-domain.ddns.netReplace your-domain.ddns.net with your DDNS hostname.
Step 2: Authenticate with Password or SSH Key
Enter your Raspberry Pi’s password or use an SSH key for authentication.
Remote Desktop Options
If you prefer a graphical interface, you can use VNC to access your Raspberry Pi remotely.
Step 1: Install VNC Server on Raspberry Pi
Install RealVNC Server:
sudo apt install realvnc-vnc-serverStep 2: Connect Using VNC Viewer on Windows
Download and install VNC Viewer on your Windows PC. Enter your Raspberry Pi’s IP address or DDNS hostname to connect.
Securing Your Connection
Security is crucial when accessing your Raspberry Pi remotely. Follow these best practices to protect your device:
- Change Default Password: Use a strong, unique password for your Pi.
- Use SSH Keys: Disable password authentication and use SSH keys for secure access.
- Enable a Firewall: Use
ufwto restrict access to specific ports.
Troubleshooting Common Issues
Remote access can sometimes present challenges. Here are solutions to common problems:
Issue: Unable to Connect via SSH
Solution: Ensure SSH is enabled, your Raspberry Pi’s IP address is correct, and port forwarding is properly configured.
Issue: Slow Connection
Solution: Check your internet speed and reduce the resolution in VNC settings if using a graphical interface.
Conclusion
Accessing your Raspberry Pi from anywhere on a Windows PC is a powerful capability that enhances productivity and flexibility. By following the steps outlined in this guide, you can set up secure and reliable remote access using SSH, VNC, or a combination of both.
Remember to prioritize security by changing default credentials, using SSH keys, and enabling a firewall. With these measures in place, you can confidently manage your Raspberry Pi from any location.
If you found this guide helpful, feel free to leave a comment or share it with others. For more tips and tutorials, explore our other articles on Raspberry Pi and remote computing!