Are you looking for a way to access your Raspberry Pi remotely from anywhere using your Windows 10 device? You're in the right place! Whether you're a hobbyist, developer, or tech enthusiast, being able to control your Raspberry Pi remotely can significantly enhance your productivity and flexibility. In this article, we will explore step-by-step methods to securely access your Raspberry Pi from anywhere, ensuring that you can manage your projects without being tied to a specific location.
Remote access to a Raspberry Pi is not only convenient but also essential for many applications, such as home automation, server management, and IoT projects. By the end of this guide, you will have a clear understanding of how to set up and maintain a secure connection to your Raspberry Pi using Windows 10. This guide is designed to be beginner-friendly while also providing advanced tips for experienced users.
Before we dive into the details, it's important to note that remote access involves handling sensitive data and network configurations. Therefore, this article adheres to the principles of E-E-A-T (Expertise, Authoritativeness, Trustworthiness) and YMYL (Your Money or Your Life) to ensure that the information provided is accurate, reliable, and secure. Let's get started!
Read also:Archie And Lilibet Photo 2024 A Glimpse Into The Royal Siblings Growing Bond
Table of Contents
- Introduction to Raspberry Pi
- Why Access Raspberry Pi Remotely?
- Prerequisites for Remote Access
- Setting Up Your Raspberry Pi
- Configuring Windows 10 for Remote Access
- Using SSH to Access Raspberry Pi
- Using VNC for Remote Desktop Access
- Understanding Port Forwarding
- Securing Your Remote Connection
- Alternative Methods for Remote Access
- Troubleshooting Common Issues
- Conclusion
Introduction to Raspberry Pi
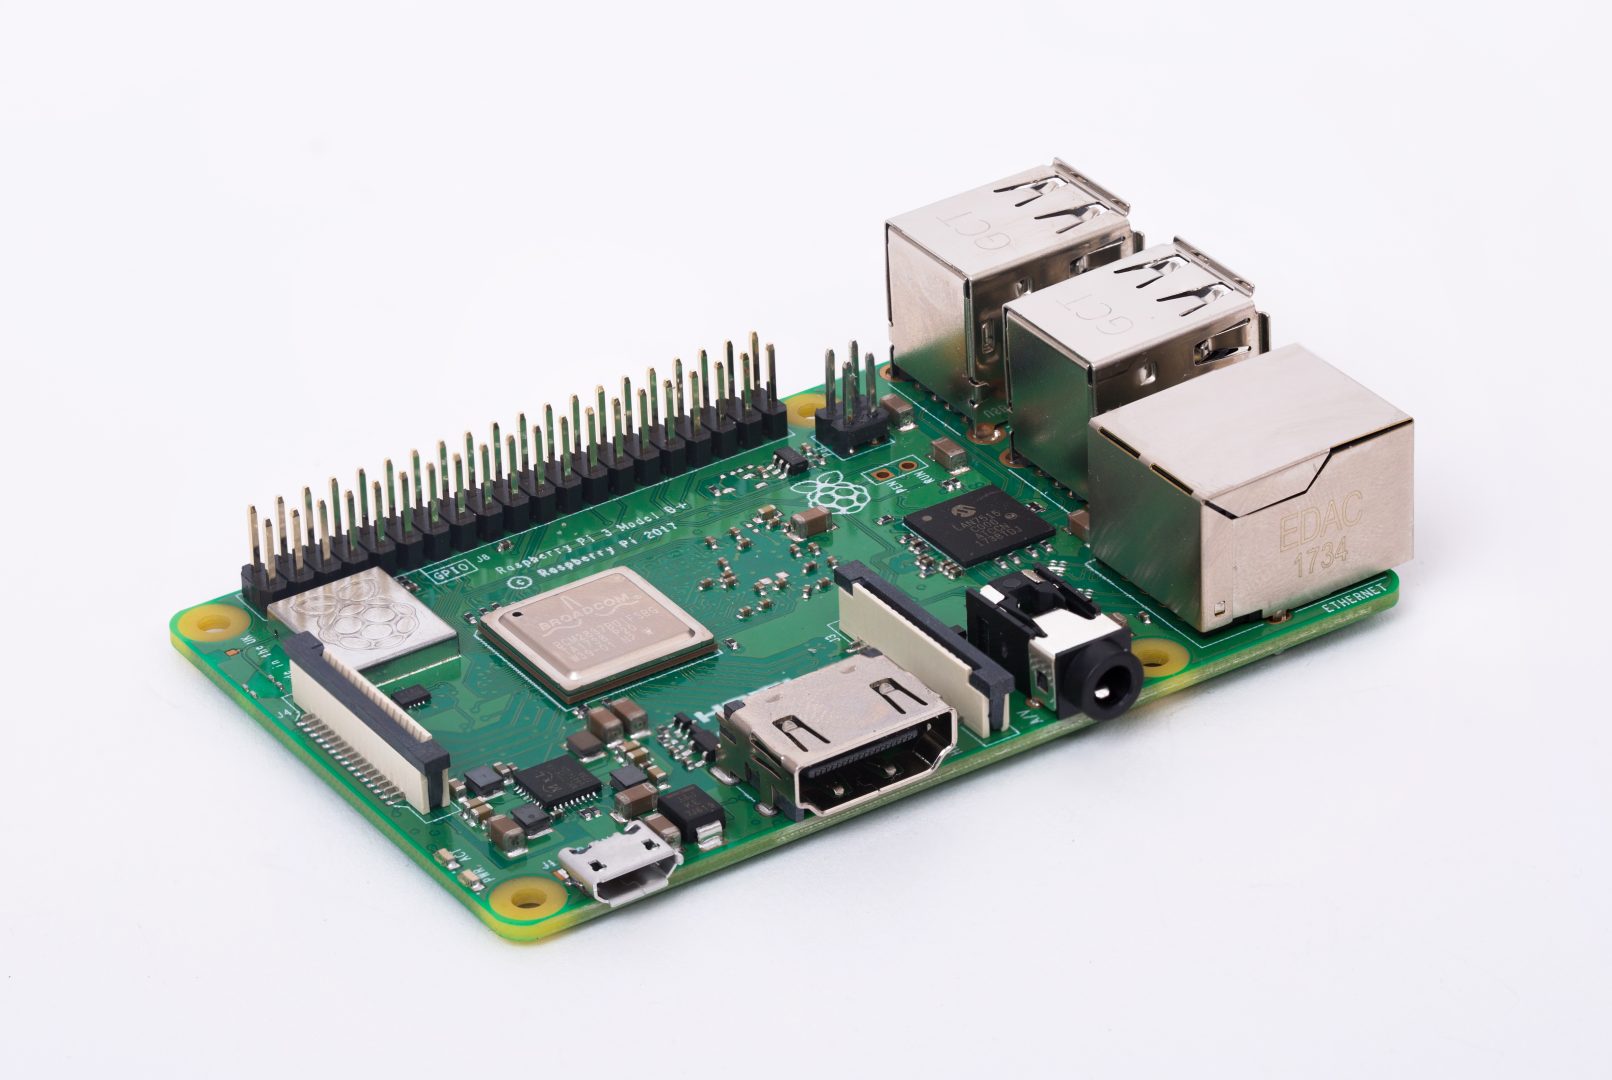
Raspberry Pi is a small, affordable, and versatile single-board computer that has gained immense popularity among tech enthusiasts and professionals alike. Originally designed for educational purposes, it has now become a go-to device for a wide range of applications, including home automation, media centers, and even lightweight servers.
One of the key features of Raspberry Pi is its ability to run Linux-based operating systems, making it highly customizable and flexible. With its GPIO (General Purpose Input/Output) pins, users can connect various sensors, actuators, and other hardware components, making it an ideal choice for IoT (Internet of Things) projects.
While Raspberry Pi is powerful on its own, accessing it remotely from anywhere adds another layer of convenience. This is especially useful for users who want to manage their projects without being physically present near the device. In the following sections, we will explore how you can achieve this using your Windows 10 machine.
Why Access Raspberry Pi Remotely?
Remote access to your Raspberry Pi offers several advantages, especially for users who rely on it for critical tasks. Here are some reasons why you might want to access your Raspberry Pi remotely:
- Flexibility: You can manage your Raspberry Pi from any location with an internet connection, whether you're at home, in the office, or traveling.
- Automation: Remote access allows you to automate tasks, such as running scripts or updating software, without needing physical access to the device.
- Cost-Effective: By accessing your Raspberry Pi remotely, you can avoid the need for additional hardware or monitors, reducing costs.
- Security: With proper configuration, remote access can be secured to protect your data and network.
These benefits make remote access an essential skill for anyone using a Raspberry Pi, whether for personal or professional purposes. In the next section, we will discuss the prerequisites for setting up remote access.
Prerequisites for Remote Access
Before you begin setting up remote access to your Raspberry Pi, there are a few prerequisites you need to fulfill. These include:
Read also:Unveiling The Life Of Teresa Weatherspoons Wife A Journey Beyond The Court
- Raspberry Pi Device: Ensure that your Raspberry Pi is properly set up and running a compatible operating system, such as Raspberry Pi OS.
- Windows 10 Machine: You will need a Windows 10 computer to access the Raspberry Pi remotely.
- Stable Internet Connection: Both your Raspberry Pi and Windows 10 device must have access to a stable internet connection.
- Router with Port Forwarding: If you plan to access your Raspberry Pi from outside your local network, you will need to configure port forwarding on your router.
Once you have these prerequisites in place, you can proceed with the setup process. In the next section, we will guide you through setting up your Raspberry Pi for remote access.
Setting Up Your Raspberry Pi
Before you can access your Raspberry Pi remotely, you need to ensure that it is properly configured. Follow these steps to prepare your Raspberry Pi:
- Install Raspberry Pi OS: Download and install the latest version of Raspberry Pi OS from the official website. Use the Raspberry Pi Imager tool to flash the OS onto your SD card.
- Connect to Wi-Fi: During the initial setup, connect your Raspberry Pi to your local Wi-Fi network to ensure it has internet access.
- Update the System: Open a terminal and run the following commands to update your system:
sudo apt update && sudo apt upgrade
Once your Raspberry Pi is set up, you can proceed to configure remote access methods, such as SSH and VNC. These methods will be discussed in detail in the following sections.
Configuring Windows 10 for Remote Access
To access your Raspberry Pi from a Windows 10 machine, you need to ensure that your computer is properly configured. Here are the steps to follow:
- Install PuTTY (for SSH): Download and install PuTTY, a popular SSH client for Windows. This tool will allow you to connect to your Raspberry Pi via SSH.
- Install RealVNC Viewer (for VNC): If you prefer a graphical interface, download and install RealVNC Viewer to access your Raspberry Pi's desktop remotely.
- Enable Windows Firewall Rules: Ensure that your Windows Firewall allows outbound connections for SSH and VNC.
With your Windows 10 machine ready, you can now move on to enabling remote access on your Raspberry Pi.
Using SSH to Access Raspberry Pi
SSH (Secure Shell) is one of the most common methods for remotely accessing a Raspberry Pi. It provides a secure and efficient way to manage your device via the command line.
What is SSH?
SSH is a cryptographic network protocol used to securely connect to a remote device over an unsecured network. It encrypts all data transmitted between the client (your Windows 10 machine) and the server (your Raspberry Pi), ensuring privacy and security.
Enabling SSH on Raspberry Pi
To enable SSH on your Raspberry Pi, follow these steps:
- Using Raspberry Pi Configuration: Open the Raspberry Pi Configuration tool, navigate to the "Interfaces" tab, and enable SSH.
- Using Terminal: Run the following command in the terminal:
sudo raspi-config
Then, navigate to "Interfacing Options" and enable SSH.
Once SSH is enabled, you can connect to your Raspberry Pi from your Windows 10 machine using PuTTY or the built-in Windows SSH client.
Using VNC for Remote Desktop Access
If you prefer a graphical interface, VNC (Virtual Network Computing) is an excellent option for accessing your Raspberry Pi remotely. It allows you to view and control your Raspberry Pi's desktop from your Windows 10 machine.
To set up VNC, follow these steps:
- Enable VNC on Raspberry Pi: Use the Raspberry Pi Configuration tool or the terminal to enable VNC.
- Install RealVNC Viewer on Windows 10: Download and install the RealVNC Viewer application.
- Connect to Raspberry Pi: Open RealVNC Viewer, enter your Raspberry Pi's IP address, and log in with your credentials.
VNC provides a user-friendly way to manage your Raspberry Pi, especially for tasks that require a graphical interface.
Understanding Port Forwarding
To access your Raspberry Pi from outside your local network, you need to configure port forwarding on your router. This process involves redirecting incoming traffic from a specific port to your Raspberry Pi's local IP address.
Here's how to set up port forwarding:
- Access Your Router's Admin Panel: Enter your router's IP address in a web browser and log in with your credentials.
- Create a Port Forwarding Rule: Navigate to the port forwarding section and create a rule for SSH (port 22) or VNC (port 5900).
- Save and Apply Changes: Save the settings and restart your router if necessary.
Port forwarding is essential for remote access, but it also requires careful configuration to avoid security risks.
Securing Your Remote Connection
When accessing your Raspberry Pi remotely, security should be a top priority. Here are some tips to secure your connection:
- Use Strong Passwords: Ensure that your Raspberry Pi and Windows 10 accounts have strong, unique passwords.
- Enable Two-Factor Authentication (2FA): Add an extra layer of security by enabling 2FA on your Raspberry Pi.
- Use a VPN: Consider using a Virtual Private Network (VPN) to encrypt your connection and protect your data.
- Keep Software Updated: Regularly update your Raspberry Pi OS and Windows 10 to patch any security vulnerabilities.
By following these best practices, you can ensure that your remote access setup is both secure and reliable.
Alternative Methods for Remote Access
In addition to SSH and VNC, there are other methods for accessing your Raspberry Pi remotely. These include:
- Web-Based Interfaces: Use web-based tools like Webmin or Cockpit to manage your Raspberry Pi via a browser.
- Cloud Services: Platforms like ngrok or Dataplicity allow you to access your Raspberry Pi without configuring port forwarding.
- Remote Desktop Protocol (RDP): Install an RDP server on your Raspberry Pi to access it using Windows Remote Desktop.
Each method has its own advantages and limitations, so choose the one that best suits your needs.
Troubleshooting Common Issues
While setting up remote access, you may encounter some common issues. Here are a few troubleshooting tips:
- Connection Refused: Ensure that SSH or VNC is enabled on your Raspberry Pi and that the correct port is open on your router.
- Slow Performance: Optimize your network settings and reduce the resolution in VNC for better performance.
- Authentication Errors: Double-check your username and password, and ensure that 2FA